Not really a carpenter!
I’ve never considered myself much of a carpenter or woodworker, but I decided I’d ‘roll my own’ on this project.
After looking at some of the junk sheds being built–and what they ask for them!–I decided I could do better and have a little fun and companionship at the same time.
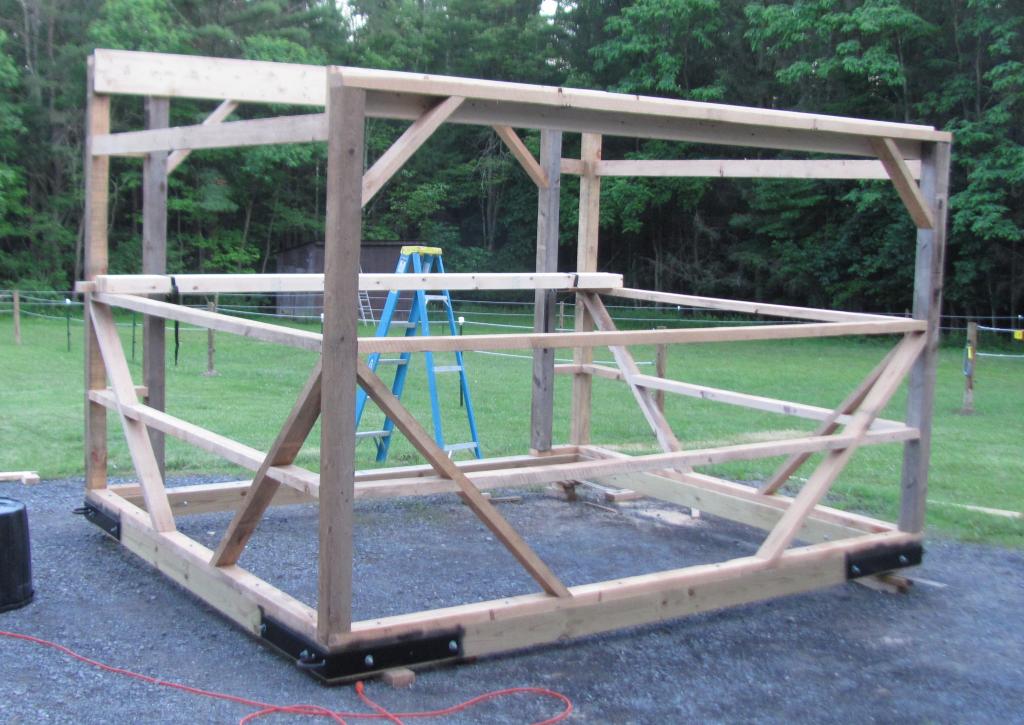
A friend came over and helped me rabbet and fit the 6×6 treated timbers for the base. We then assembled several wall panels.
Nice to have a level surface
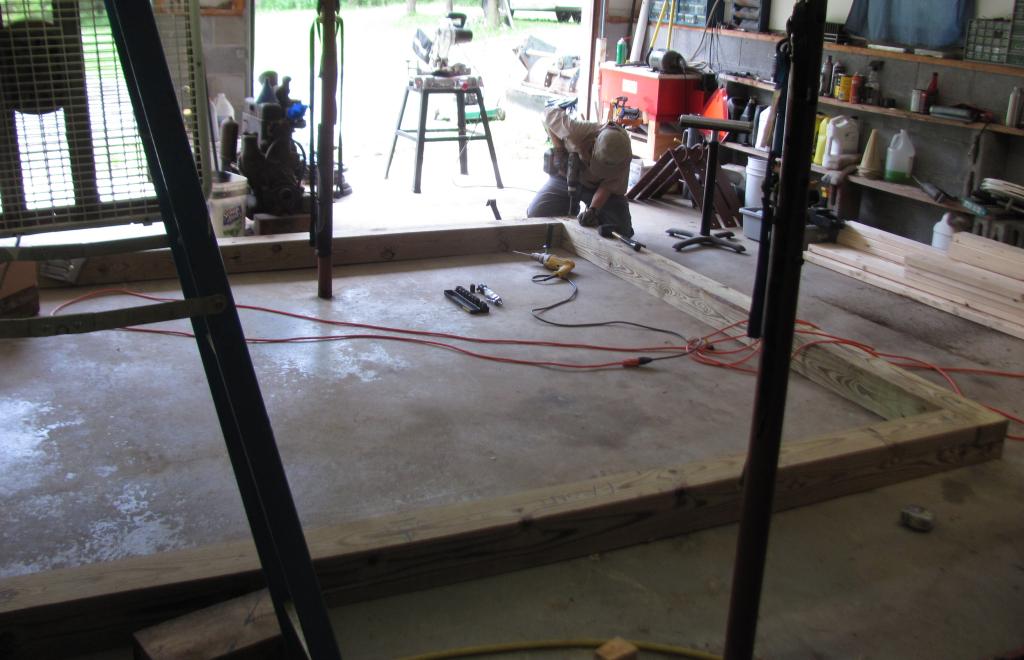
Unfortunately, while my garage provided us a flat place to lay out the base and pre-fab the walls, there wasn’t room to assemble anything beyond that before going out in the driveway. The trusty Diesel tractor dragged the timbers out and allowed me to erect the walls, though I could have used a few more feet of reach for the front wall!
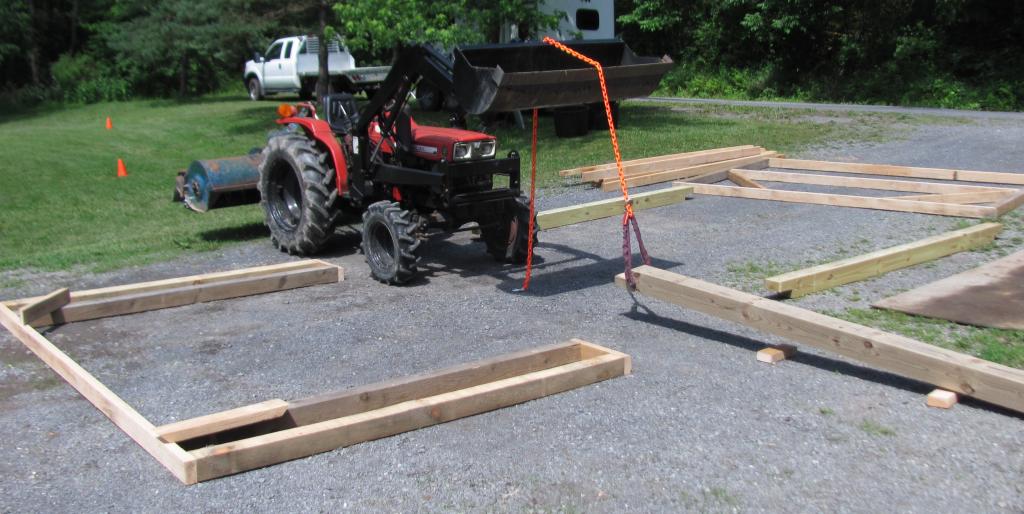
What a drag…

This looks like it might work!
Using the loader, I erected the walls myself, squared everything up, and put in corner bracing.
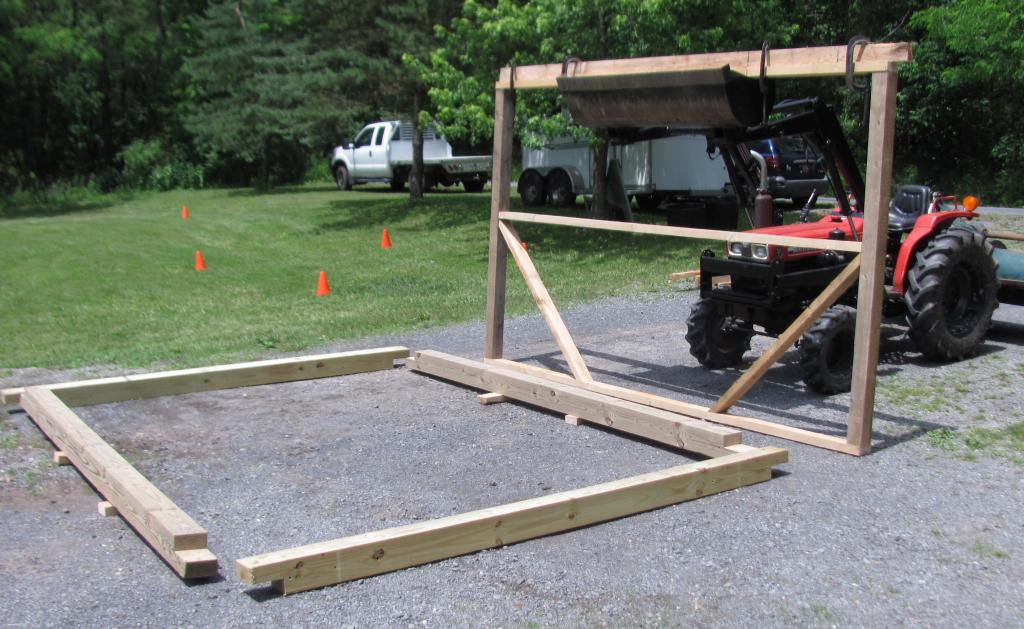
Up go the walls…
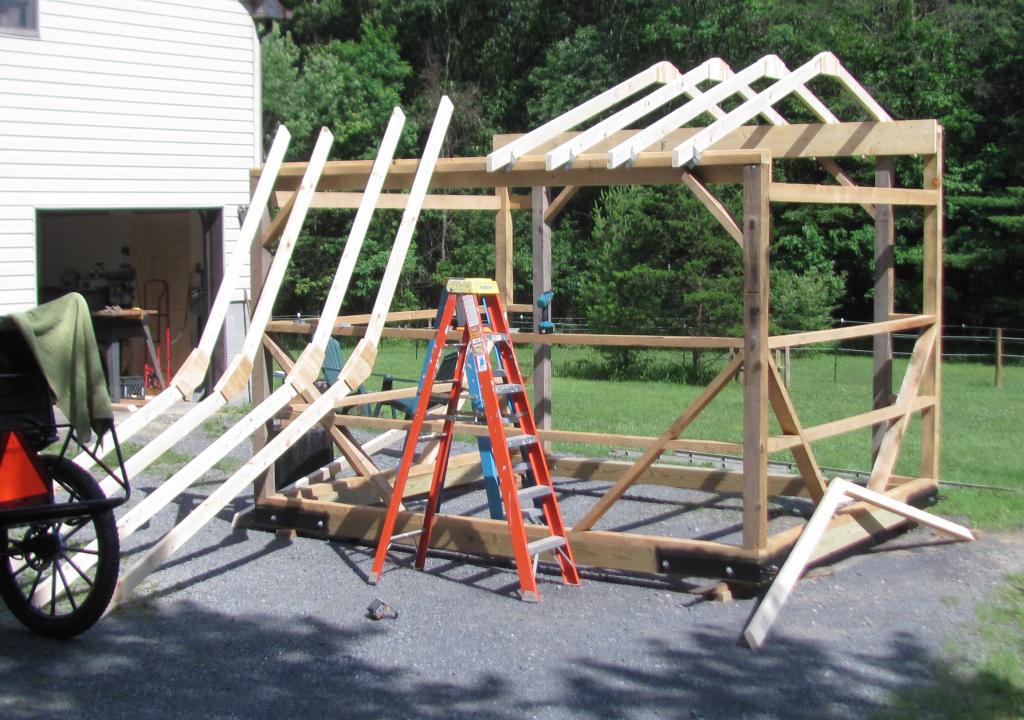
The framing of this was all locally-cut hemlock, rough cut to true 2×4 and 4×4 dimensions. We therefore did 90% of the construction using star-drive screws to get adequate grip. It worked great, but it was slow. This led me to purchase a Bostitch framing nailer before my next shed construction project; any excuse to buy new tools!

Bracing and headers are next
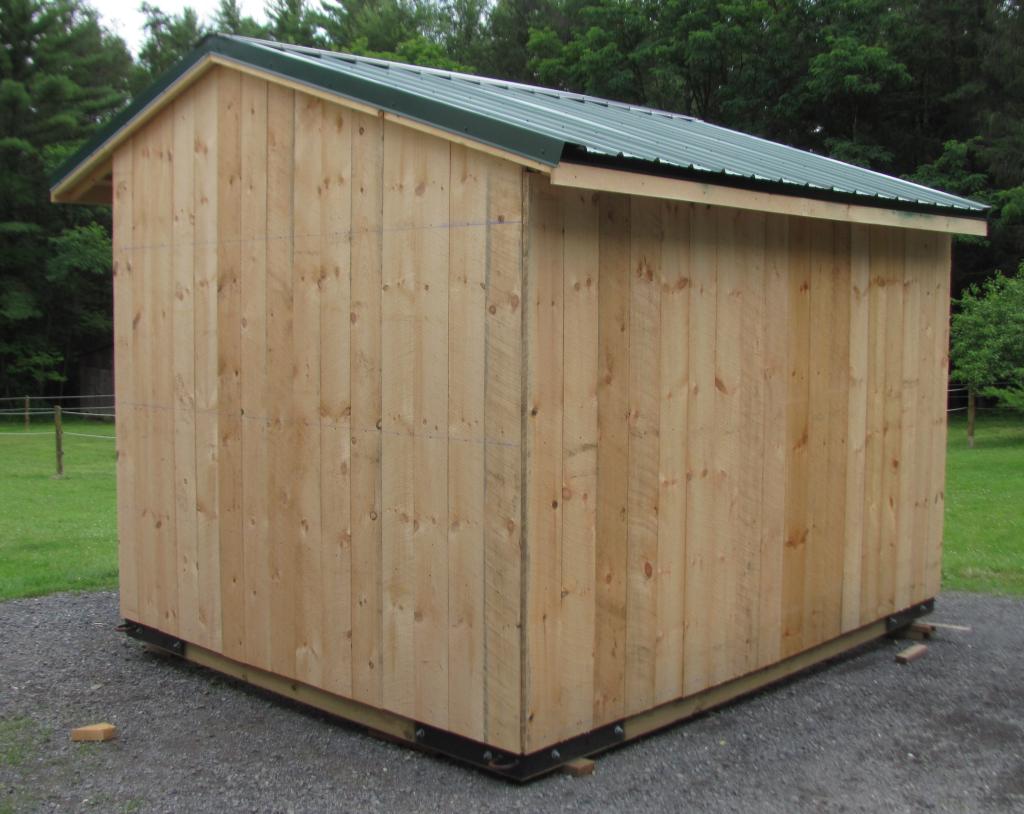
I then added girts to support kick boards on the lower half of the walls and installed steel corners. I was going to fab my own corners, but then learned a local Mennonite shop makes them in quantity for a shed builder. I could get them for $18 a piece, so that was a no-brainer!
Starting to look like something!
My friend came out another evening, we finished building simple trusses and set them in place and added purlins.
Really ‘raising the roof’
One blazing hot day we put on roofing metal, locally produced by an Amish shop. For some reason, I decided to go with contrasting colors for some of the trim, a luxury I will not bother with in the future…
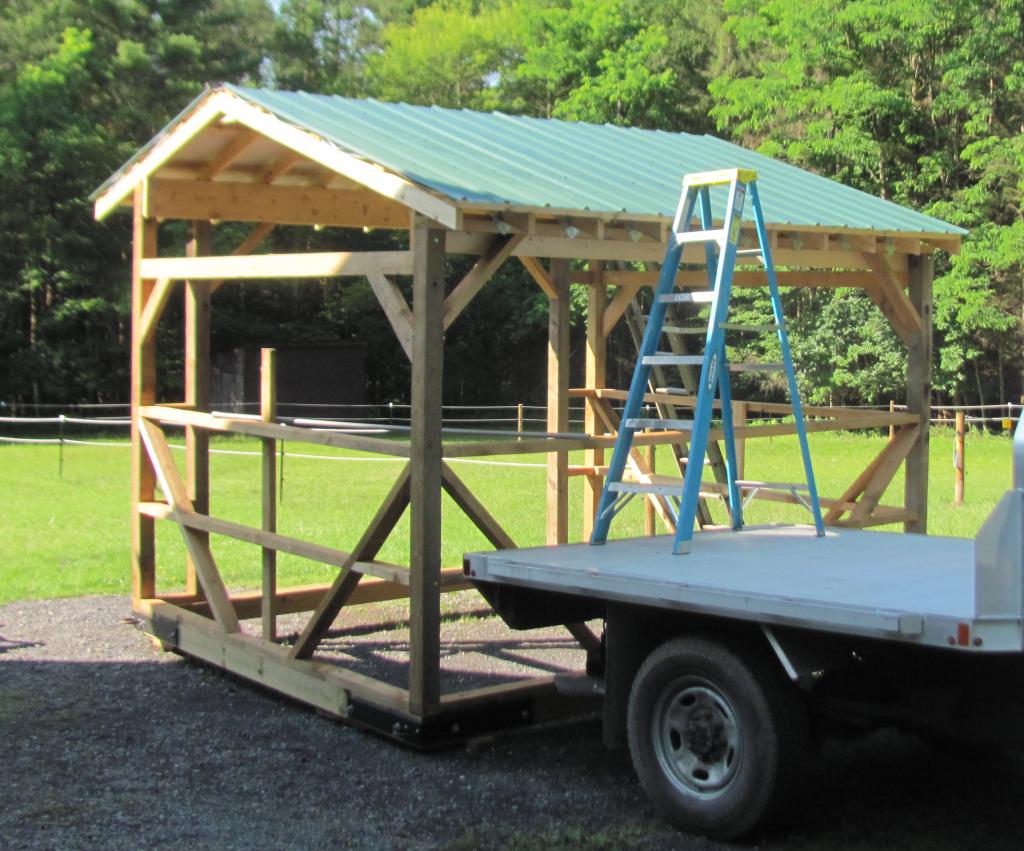
Under the roofing is a layer of Plyfoil low-emissivity insulation, which greatly reduces heat radiated down into the shed on sunny days.
Looking good!
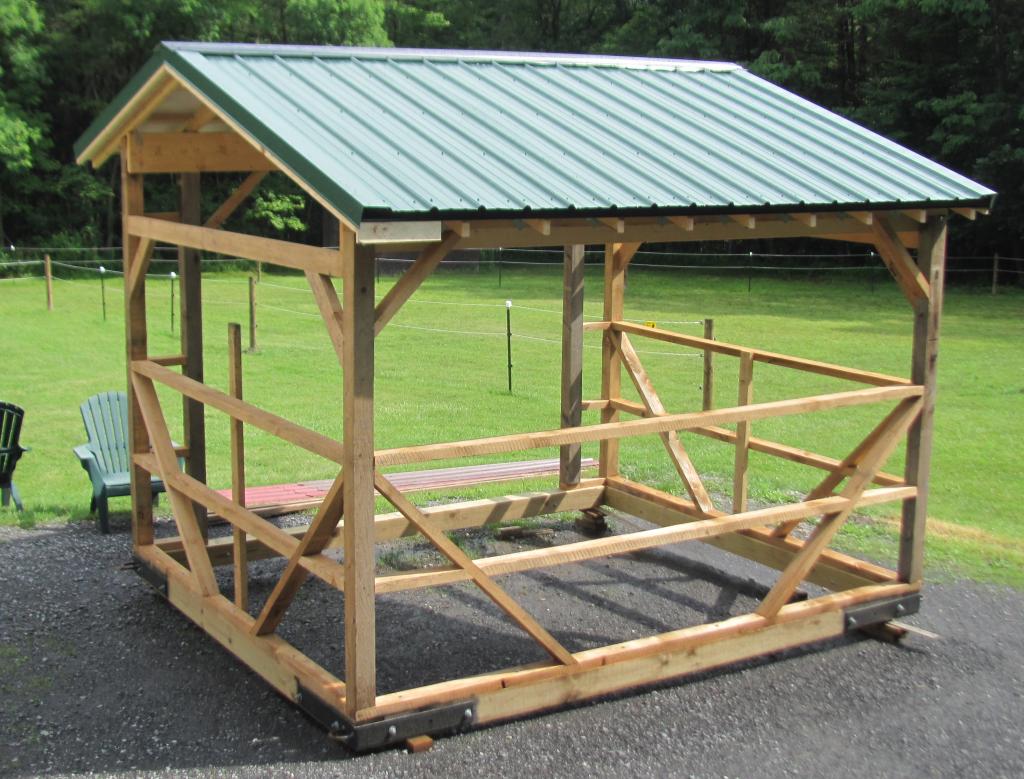
I then put on walls of rough-cut pine, saw-milled by a nearby farmer from blow-downs from a bad storm we had early in the year. I got pretty adept at laying out those angle cuts to get the boards even!
Sweet smell of fresh-cut pine!
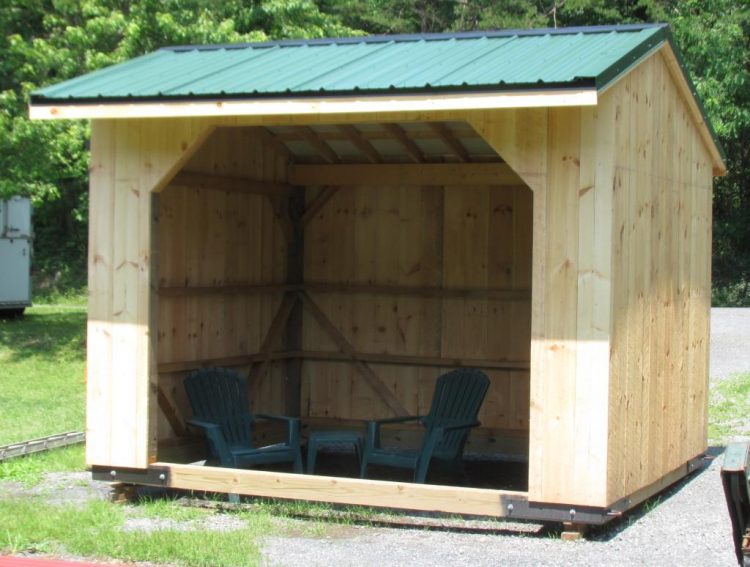
The shed then had to sit until some earth moving was done, so for a while it was just a shady hangout for enjoying cold beverages…
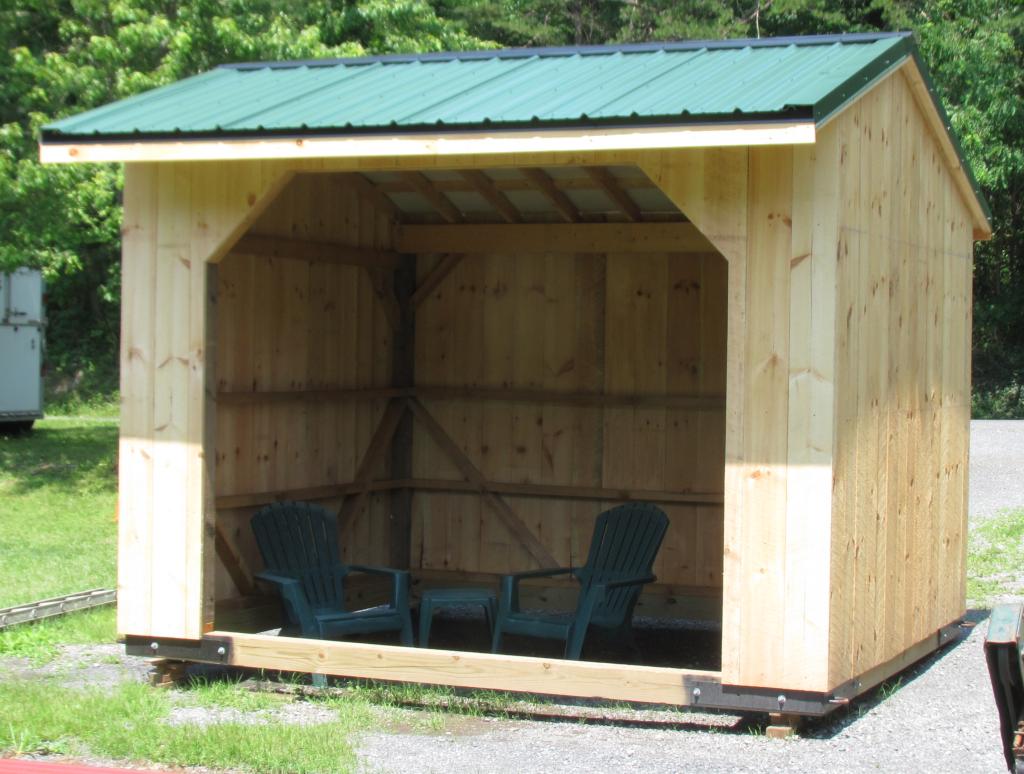
Lawn chairs have a new home
Finally, grading was finished and we moved it into position by placing it on fence posts and towing it with the tractor loader.
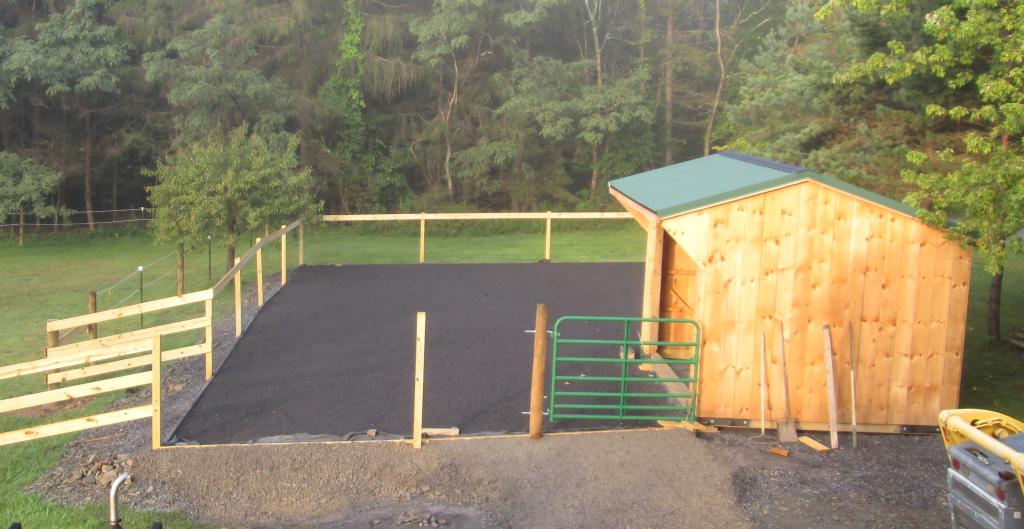
Final installation
I trimmed out the overhang and added batten boards, cut from local hemlock. Since battens are exposed more than the flat pine, hemlock will help them hold up better. Eventually I want to give the entire shed a coat of soy-based stain, but that’s another project…
—
One of the curious and unintended features of this shed is that it was built using all locally-sourced materials. Most of the lumber was milled from trees on the mountains around me. Hardware and a few pieces of dimensional and treated lumber were purchased from a family-owned local lumber yard. Quality was superior to that of chain stores, and there was none of the “big box BS” of crowds and disinterested employees. All the people I dealt with learned about my project, and many were interested in updates each time I visited! I have to say, that’s the way I prefer to do business…