Shed Building Again?
With apologies to Elvis Costello, I’ve been “shed building again”, this time an 8×10 storage shed. I whipped out this little project in hardly any time at all using my newly-acquired Bostitch pneumatic nailer–which can bang in a 3.5″ framing nail. My shed design is based on a survey of products produced in this area, and combines the best and smartest features and construction methods I could find. Among other improvements, it has a little extra headroom for taller people, possible because it didn’t need to fit within highway transport height!
A friend came over and helped me notch out the longitudinal timbers and fit together the interlocking base skid and floor joists. Everything below deck is treated lumber, even though the shed will sit on #2 stone over landscape fabric, so splashing should be minimal.
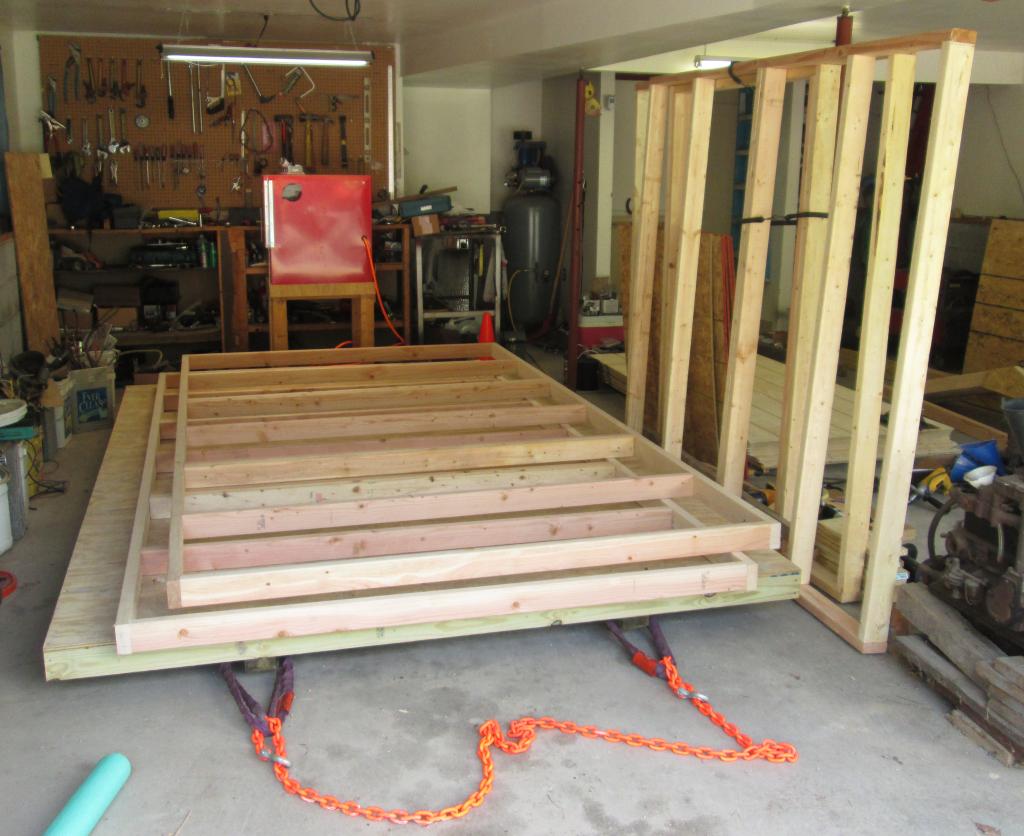
Base and pre-fab wall panels
The next day I banged out wall panels. I stacked them on the base and used the faithful tractor-loader to drag the whole ‘kit’ outside. I leveled it all up to make assembly easier.
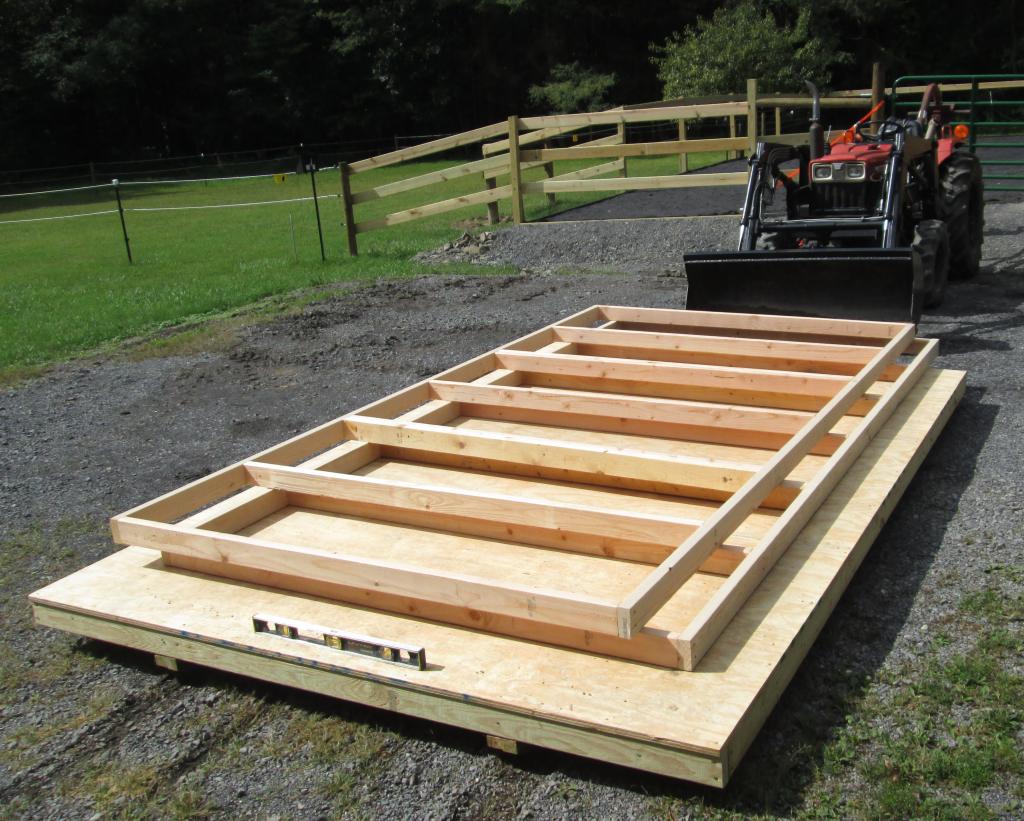
Shed ‘kit’ in driveway
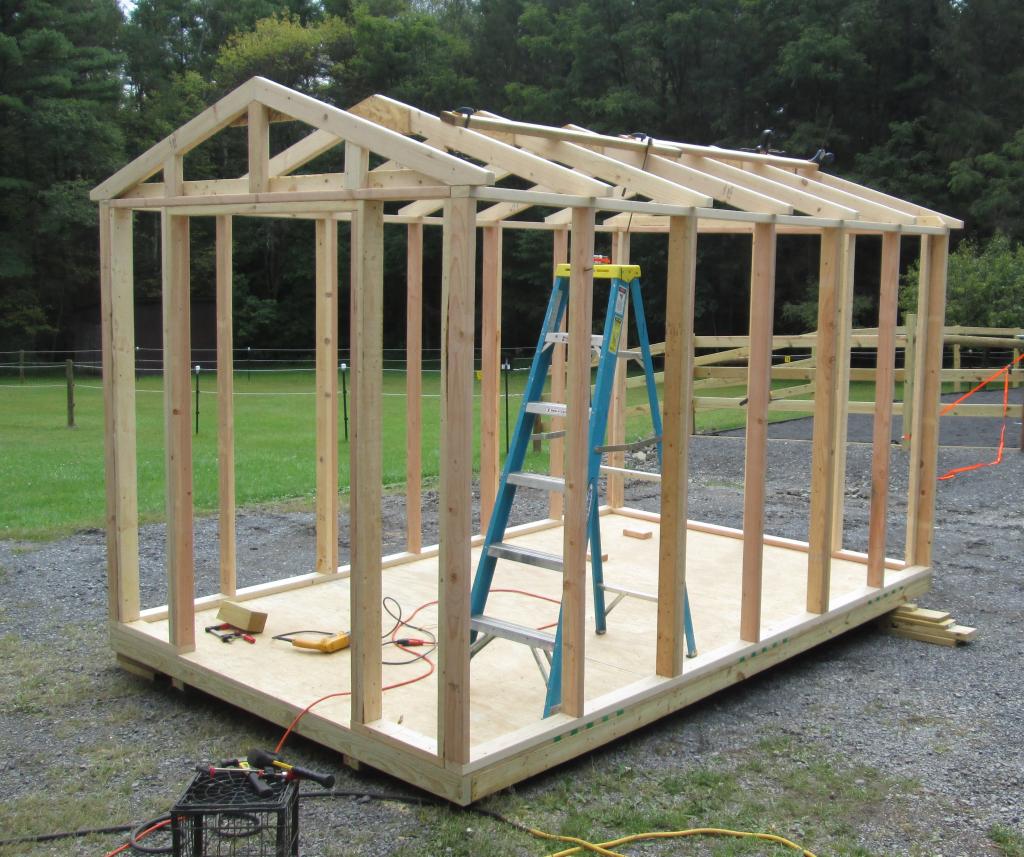
Using the loader, I quickly stood up the walls and squared everything by myself.
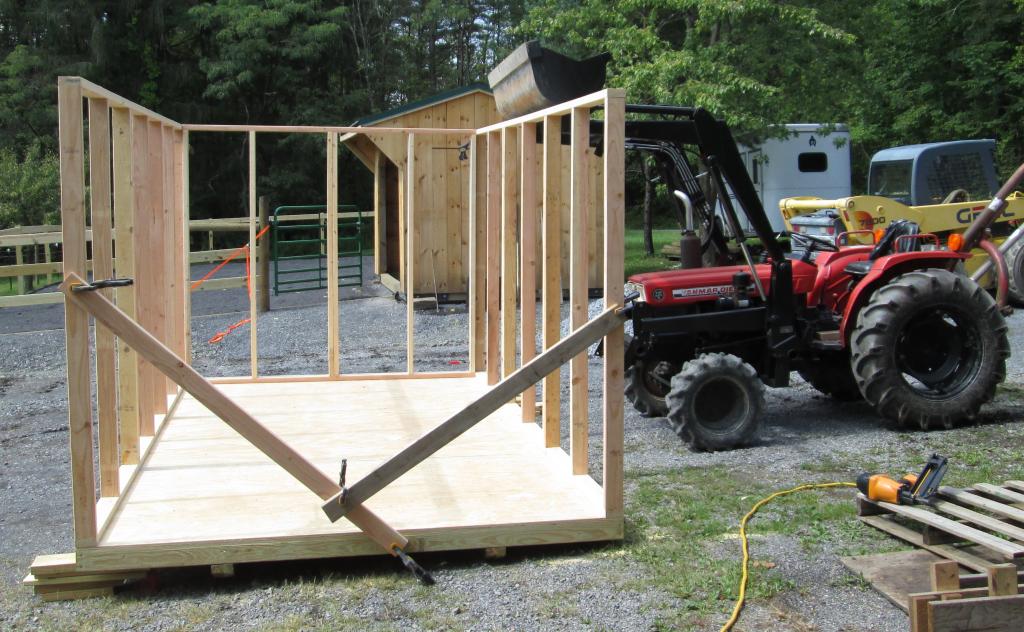
Helpful power equipment
My friend came back over and we completed modest pre-fab trusses one evening. The next day I hung the trusses and squared them up.
Trusses go up
Using the Bostitch, it doesn’t take long to hang T1-11 siding or roofing panels with galvanized ring-shank nails. Hopefully we won’t have any ‘poppers’ with this fastening method. The roof panels are LP TechShield radiant barrier: it’s OSB coated with a low-emissivity layer inside to reduce radiated heat. It’s not easy to find in this latitude, but it works really well to keep the shed interior cool.

Under roof
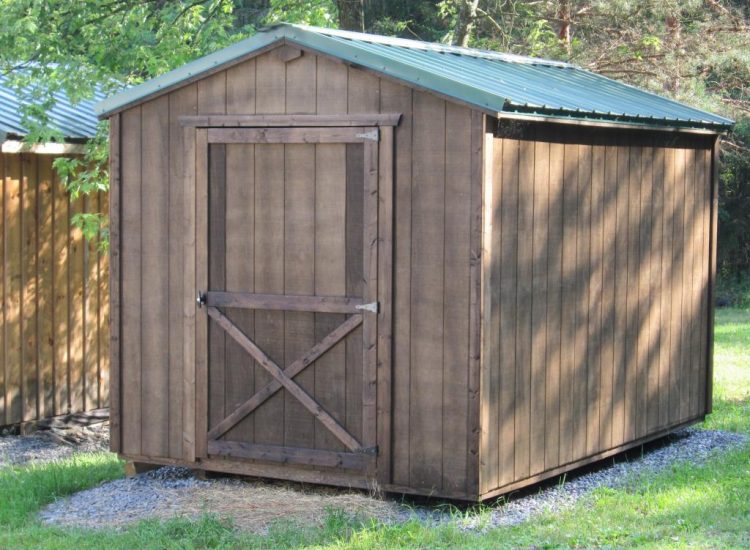
I elected to use steel roof panels to match my prior shed; these are custom rolled locally by an Amish shop so fit-up is pretty easy and quick, though it’s still hot work up there. This time I skipped the contrasting trim!
I finished the shed with a locally-produced, low-toxicity stain from an Amish company called A&L Paints, which is based on soy oil. I put it on with my airless sprayer and was a bit underwhelmed by coverage. I need to go back and brush on another coat to get the full, dark ‘walnut’ tone I was looking for… maybe one of these days!

Finished result after a year’s use
I am very happy with the results. I saved about 50% over the cost of a pre-fab shed and know that it’s very well constructed. And several of my neighbors stopped to tell me “you sure do nice work!”.