15 ton Crane Modernization
Crane modernization brings locomotive shop into the 21st century.
In 2007, I led a project to modernize the overhead bridge crane in a busy locomotive repair shop of the nation’s largest shortline railroad operator.
The Problem
The customer had come to us looking to have the hoist rebuilt on their Niles overhead bridge crane, built in 1917. Upon inspection, I felt the trolley was too aged to be safe even after rebuilding. The wheels and hoist drum were cast iron, and I simply felt there was too much risk to using items that aged and fatigued in a lifting application. The DC motors were long obsolete, and spare motors or parts were non-existent.

Original hoist trolley from 1917
Power to the crane was via bare copper wires carrying 250 volts DC. Ok in 1917, not so safe in my judgement!
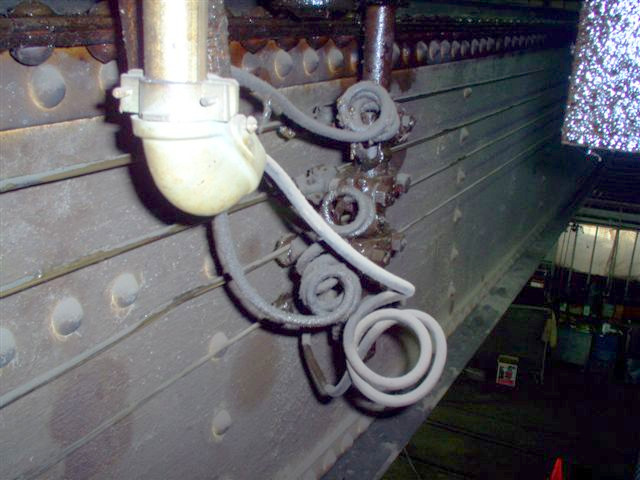
Hoist bus wires were totally exposed
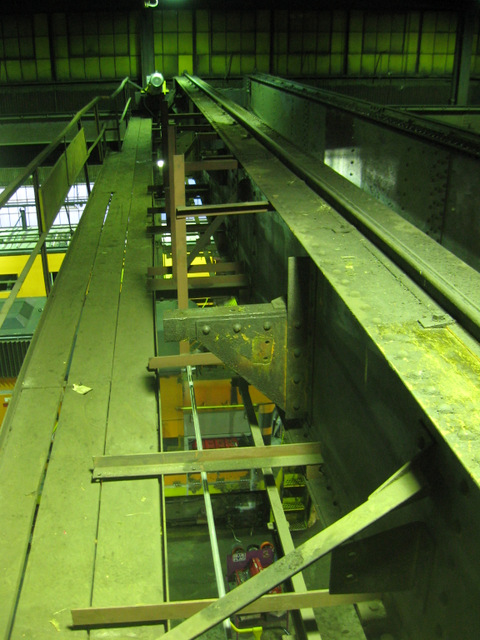
Although riveted construction, the bridge was in good shape and significantly overbuilt. Replacing the whole crane seemed a bit pointless—and expensive.
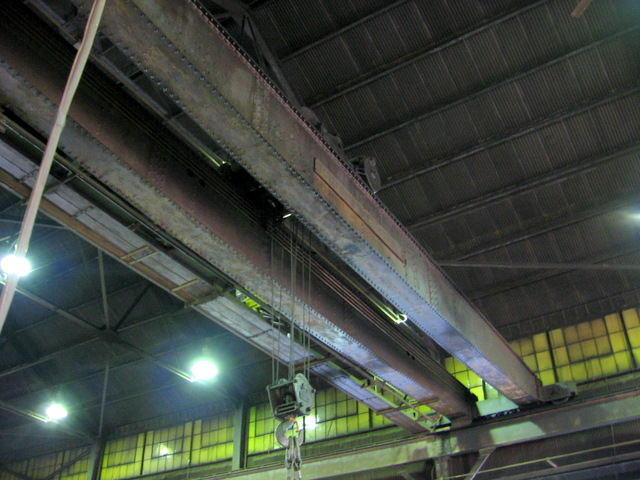
They don’t build them like this anymore
After investigating various options to replace the hoist, I proposed a startling alternative: convert the crane to full “modern” operation, with an entirely new AC hoist and motions. Because of their annual budget constraints, I could phase the project to span two fiscal years. And I promised never to leave them without a crane for more than a couple days!
2007: The Hoist Man Cometh
I started by mounting a new insulated “Electrobar 8” AC busbar system from Magnetek below the old DC wires. I put new collector pantographs on the bridge. This safely brought 480 volt, 3 phase onto the crane,
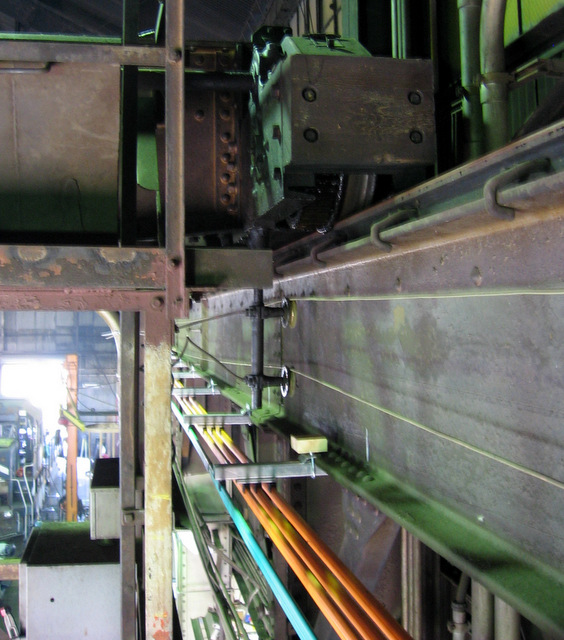
Old exposed 250Vdc wires at top; insulated AC busbar system below

Redundant pantographs to support VFDs
I built and installed a new AC main disconnect and custom interface panel to permit the existing pendant controls to run both a new AC hoist and the old DC bridge controls.
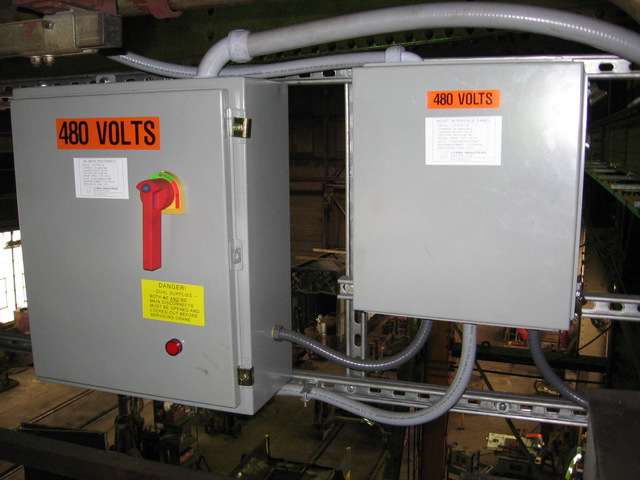
AC main disconnect and custom AC/DC interface panels
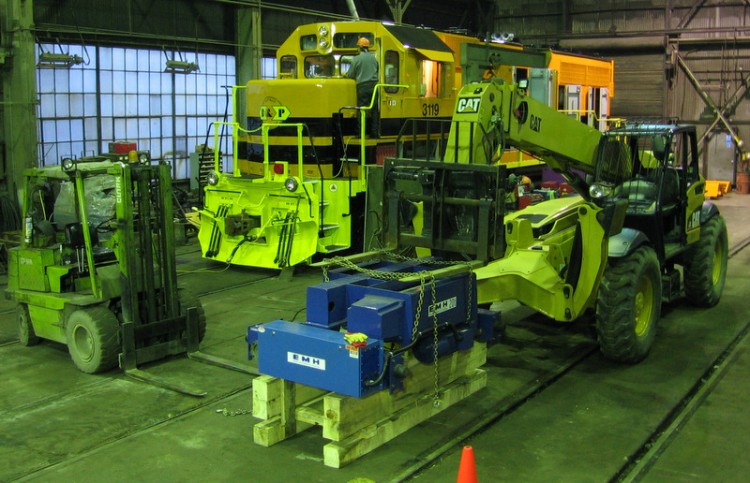
Finally, I installed a new hoist, custom-configured and built by EMH Cranes of Ohio. Due to customer concerns about durability (the first hoist lasted 90 years!), we used a 20 ton hoist derated to the 15 ton bridge rating. I used a new festoon-cable system to replace exposed power wires to the trolley.

A telescopic boom lift made short work of changing out the hoist
New EMH hoist in place on the bridge
The installation was load tested by a certified crane inspector and released for operation.
With minimal interference to shop operations, we now had a new hoist in place and AC power to the crane. The customer was beginning to realize I might just be serious about this project!
2008: Bridge Motions and Remote Control
In spring 2008, I took my carefully compiled notes and photographs and created a 3D CAD model of adapters to replace the central bridge motor and jackshaft with a Nord AC gearmotor at each end. We had pinion gears cut and fabricated those adapters.

3D CAD model of gearmotor and adapter
From concept to reality
I designed and built a new electrical cabinet with a large VFD (variable frequency drive) for the gearmotor pair. I had to make some late modifications to that design and add a small PLC when the control signals on the TECO/Westinghouse VFD did not function as is “normal”. The company was unwilling to revise their firmware because a new model was coming out to replace it!
In one very busy extended weekend, we removed all the remaining DC electrical gear, bridge motor & brake, and jackshaft. Removing this machinery and electrical gear actually removed several tons of dead load.
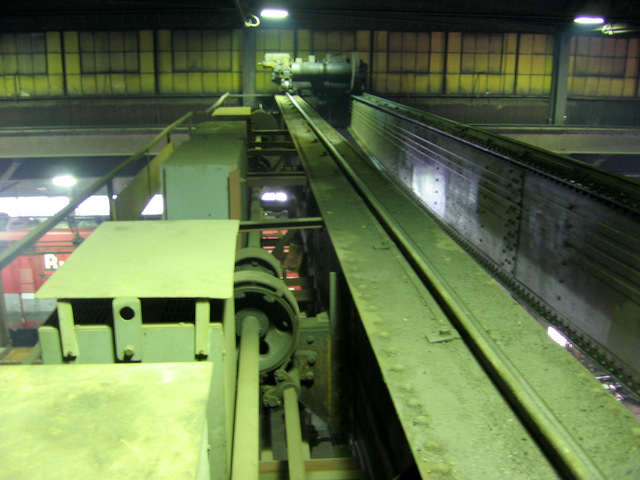
Before view of electricals and jackshaft
After… lots of dead load removed
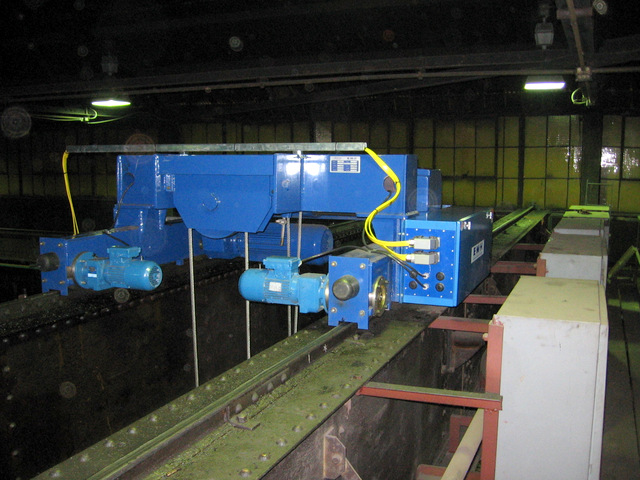
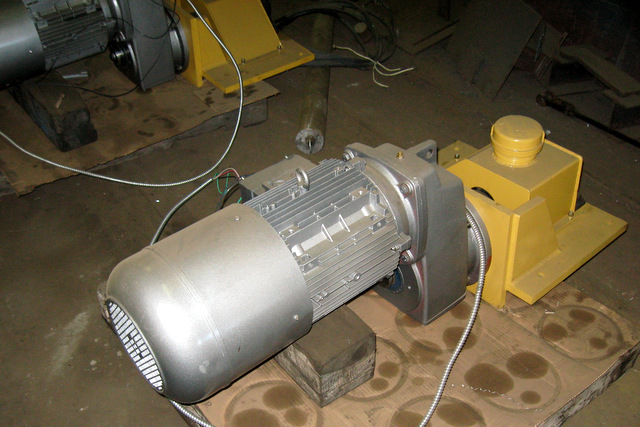
We then installed my adapters and gearmotors. We clamped the adapters in place, lined them to the gears, drilled the mounting holes through with a mag drill, and bolted them in place. QED!
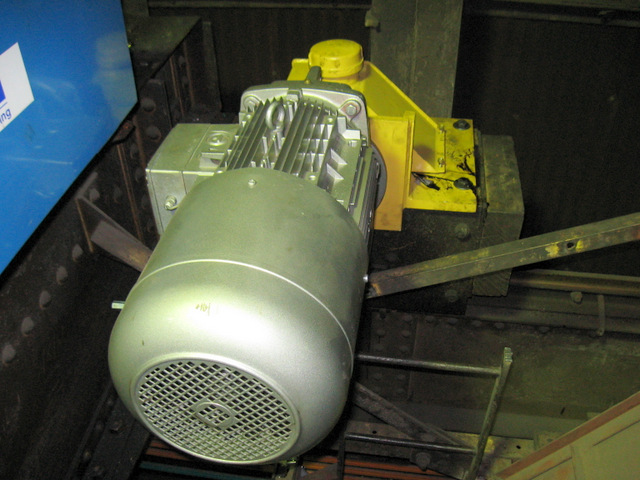
Actual Nord gearmotor installed on bridge
I installed my new main electrical cabinet, added a warning horn and more compact control pendant and festoon system, and removed my temporary AC/DC interface cabinet. I cut down the DC trolley wiring, no longer required after nearly a century of service.
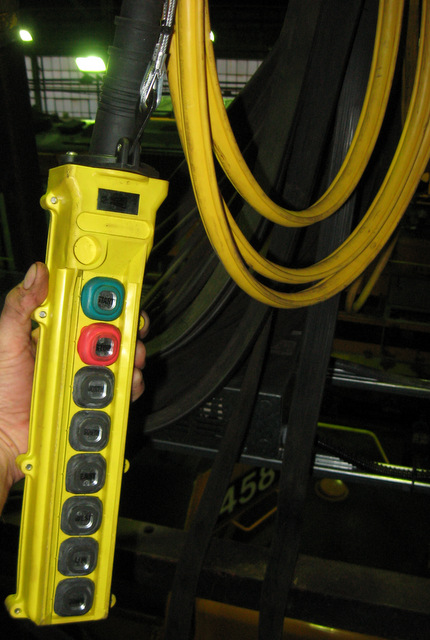
New pendant backs up radio control
As icing on the cake, I then installed a compact radio remote control. This allowed the mechanics to operate the crane from the best vantage point, right where their eye and hands are.

Compact radio remote control
A summary of project results is impressive:
- eliminated costly maintenance and breakdowns of ancient hoist, also reducing risk of dangerous failure
- replaced almost all gearing with totally enclosed gearboxes using ball bearings and synthetic lubricants
- entirely eliminated DC rectifier and exposed wiring, substantially reducing maintenance and improving safety
- added variable speeds on bridge and trolley motions, improving control and increasing safety
- implemented “single-button” continuously-variable speed control for easier one-hand operation
- provided two hoisting speeds for better load control
- added radio control for improved productivity and safety
- made all electrical cabinets and common adjustments accessible from on walkways
By the end of this project, I was pretty sick of being aloft on scissor and boom lifts, but I was pretty good at getting around in a fall harness.
When I visited later, mechanics told me “we thought we’d died and gone to Heaven” with the crane improvements!